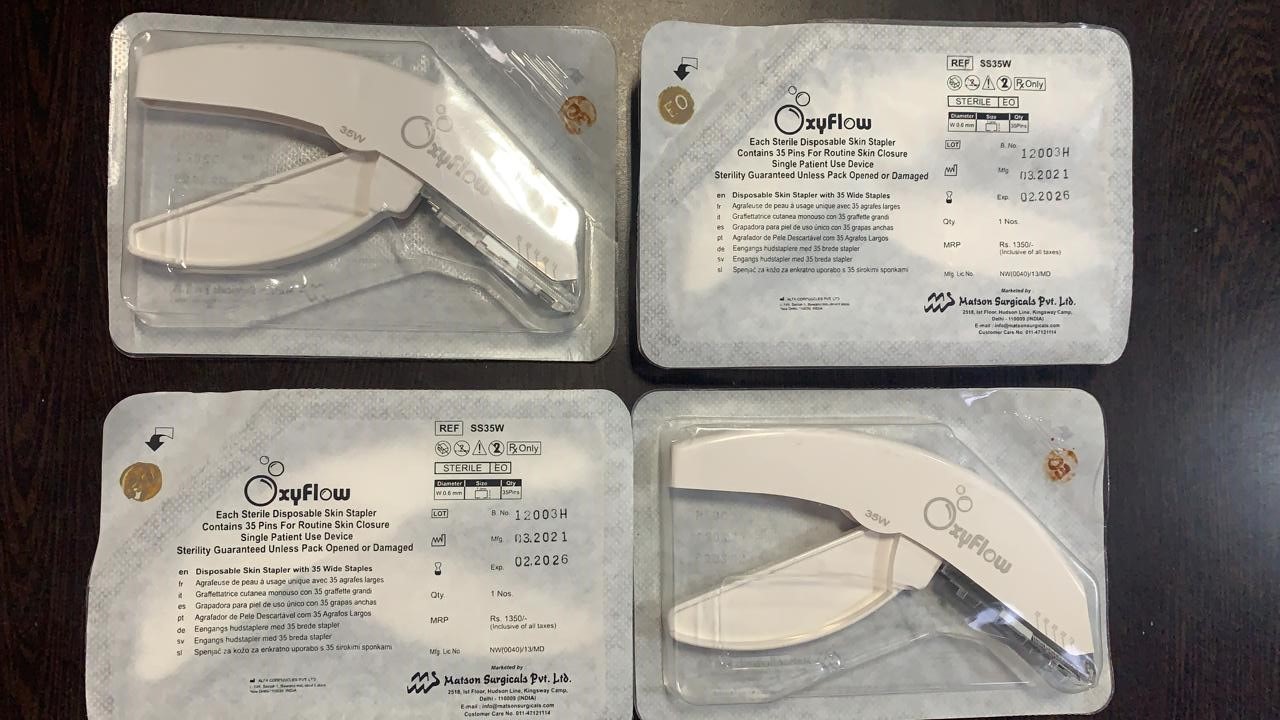
Description
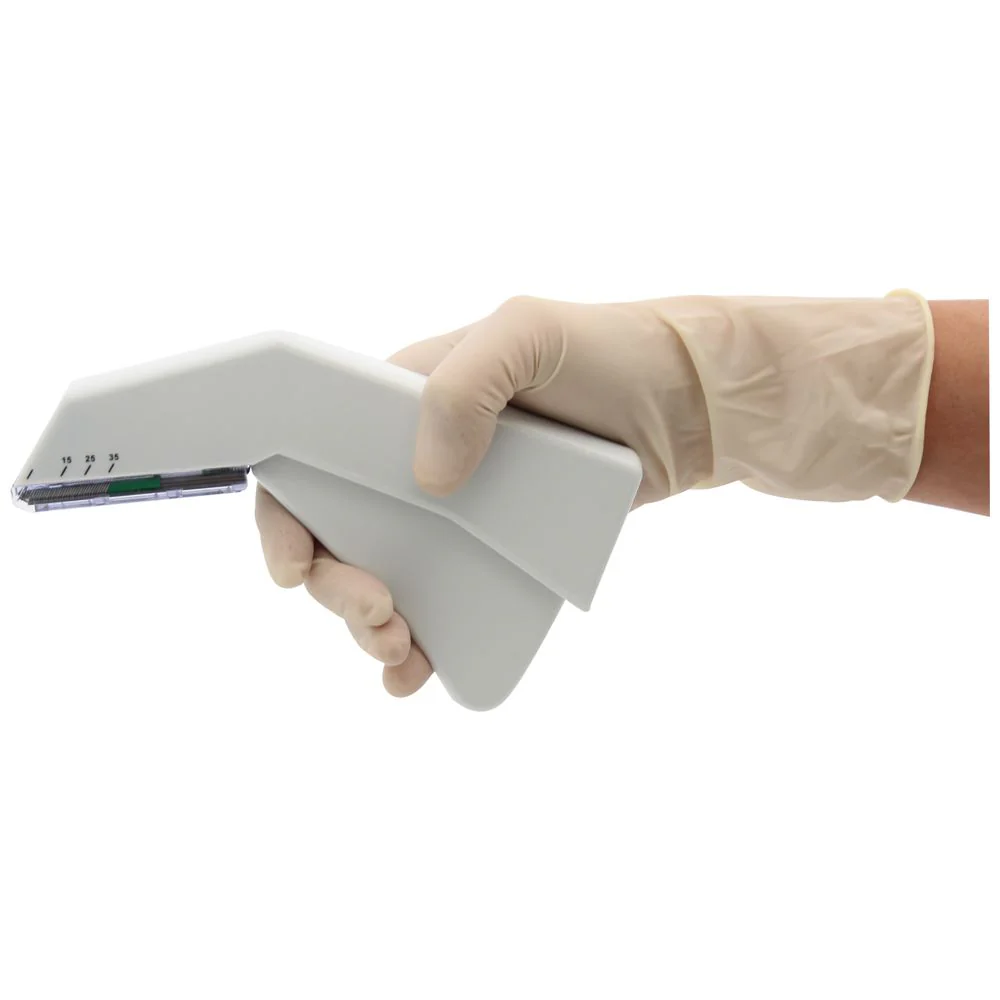
Direction for Using surgical skin stapler:
Approximate the tissue with the help of forceps. Two forceps can be used to keep equivalent portions of the tissue on either side of the wound. The forceps are drawn together until the ends of the tissues are set and extended. Hold the jaws tight to the surgical stapler jaws with most controllable outcomes. To tighten the staple, use forceps to grip and present more tissue on each edge. One forceps may be used to approximate the tissue by capturing a substantial ridge of centered tissue from all the sides of the wound and closing it until the edges are set and extended.
Gently put the chirurgical stapler jaws next to the forceps on the surface of the skin. Align the staple positioning arrow with the middle of the wound. The handle of the stapler should be held at an angle of about 35° to the surface of the skin.
The surgical stapler may be placed gently on the skin or 1 to 2 mm slightly above the surface of the skin if a larger distance is required between the back span and the tissue surface. Slowly depress the handle and press the button
Slowly depress the handle and push the button completely until the “click” sound is heard to be placed and the staple is formed. The design of the MIRUS Surgical Stapler and its basic size facilitate the visibility of the staple positioning.
Lift the MIRUS surgical stapler straight up after each staple has been set. The stapler releases the staples freely without manual modification to disconnect the staples.
Repeat measures 1 and 4, removing the staples roughly 1/4″ before the wound has been closed. The skin stapler uses one staple every time the handle is compressed. The staple points enter the skin and then transform to form a precise, rectangular, closed staple that binds the tissue of the wound together.



Reviews
There are no reviews yet.